Pilates Ring Exercises for Beginners: Build Core Strength From an Anatomical Perspective
Beginner Pilates ring exercises are all about building a strong foundation and really getting in tune with your body's mechanics, using just a little bit of gentle resistance. These movements zero in on activating deep stabilizing muscles like the transverse abdominis, the adductors of the inner thighs, and the pelvic floor. It’s how we make abstract cues like "engage your core" feel real and anatomically precise, right from your very first workout.
Your Guide to the Pilates Ring
Let's talk about the Pilates ring, which you’ll often hear called the 'magic circle.' This simple piece of gear is a total game-changer for working out at home, especially when you're just getting started. Its real power is in the proprioceptive feedback it gives you, helping you understand exactly which muscles to contract and when.
For anyone new to Pilates, this feedback is everything. An instructor might say, "squeeze your inner thighs," but the ring gives you something tangible to squeeze against. That simple action sends a direct neuromuscular signal to your adductors (your inner thigh muscles), making that mind-body connection happen instantly.
Activating Your Deep Stabilizing Muscles
The ring is brilliant at targeting muscles that often get overlooked in traditional workouts but are absolutely essential for spinal stability and joint health. By giving you gentle, steady resistance, it helps recruit and strengthen these key anatomical players.
- Deep Core: The moment you press on the ring, your body has to stabilize itself. This automatically calls on your transverse abdominis—the deepest layer of your abdominal wall that acts like a natural corset, providing crucial support for your lumbar spine.
- Inner Thighs (Adductors): Squeezing the ring between your knees or ankles is a direct line to your adductor muscle group, building strength that helps stabilize the pelvis and promote proper knee alignment.
- Pelvic Floor: When you engage your inner thighs with the ring, it creates a co-contraction that helps you find and activate your pelvic floor muscles, which are vital for core stability and support of the pelvic organs.
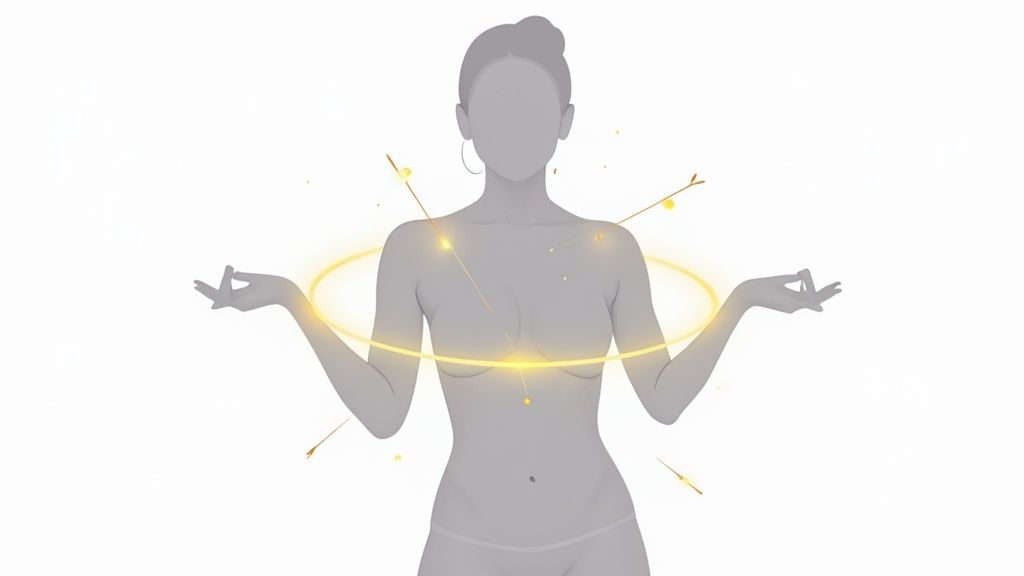
The Pilates ring translates abstract cues into concrete anatomical feelings. You don't just hear "engage your core"; you feel the contraction of the transverse abdominis as you apply pressure. This makes it an incredibly powerful learning tool for building body awareness from day one.
Why the Ring Is a Beginner's Best Friend
The ring’s versatility and how easy it is to use have made it a favorite piece of fitness gear all over the world. It’s also compact and affordable, which is a huge plus when you're setting up a Pilates practice at home.
Ultimately, the Pilates ring helps you build that deep, foundational strength without putting high-impact stress on your joints. It improves your posture by strengthening the intrinsic muscles supporting your spine and gives you a much better understanding of biomechanics. It’s an accessible piece of Pilates equipment for home use that lets you start your journey with real confidence.
Getting Ready For Your First Workout
Before you even think about starting your first exercise, let's take a few moments to set ourselves up for success. A little prep work can make a world of difference, ensuring you’re actually connecting with the right muscle groups safely and effectively, not just going through the motions. It all begins with understanding how to hold and position the ring.
The magic of the Pilates ring, or "magic circle," is in the feedback it provides. It creates two distinct types of resistance that wake up very different muscle groups. This is what makes it such a powerful tool for building deep, functional strength.
Adduction vs. Abduction: The Two Key Movements
Let’s simplify this. Think of these as "squeezing in" and "pressing out." While that sounds basic, these two actions activate opposing muscle groups that are absolutely crucial for stabilizing your hips and pelvis.
- Adduction (Squeezing In): When you place the ring between your knees or ankles and squeeze inward, that's adduction. This move is all about your adductor muscles—the inner thighs. The goal here isn't just to squeeze; it's to feel that kinetic chain connection travel from your inner thigh right up into your pelvic floor and deep abdominals.
- Abduction (Pressing Out): Now, flip it. Place your legs or arms inside the ring and press outward. This is abduction, and it fires up your outer hip muscles, especially the gluteus medius. Strengthening this unsung hero is key to pelvic stability and preventing issues like knee valgus (knock-knees).
By really focusing on these distinct anatomical actions, you start building a much deeper neuromuscular connection. You’re not just squeezing a piece of equipment; you're consciously activating the specific muscles that support your entire pelvic girdle.
Your 5-Minute Pre-Workout Warm-Up
I can't stress this enough: warming up is non-negotiable. A good warm-up increases synovial fluid in your joints and gets blood flowing to your muscles, which is one of the best ways to reduce your risk of injury. A dynamic warm-up, where you're moving through gentle ranges of motion, prepares your body for the specific movements ahead.
If you're building a routine from the ground up, our guide on how to start Pilates at home is packed with foundational tips.
Before you grab your ring, spend just five minutes with this simple sequence. This quick routine is designed to gently mobilize your joints and prepare the nervous system for the work to come.
Pilates Ring Warm-Up Sequence
| Movement | Duration/Reps | Anatomical Focus |
|---|---|---|
| Gentle Spinal Mobility (Cat-Cow) | 5-8 repetitions | Mobilizes the thoracic and lumbar spine; engages core |
| Hip Circles (Standing or Lying Down) | 5 circles each way, per leg | Lubricates the hip joint (femoroacetabular joint) |
| Shoulder Rolls | 5-8 rolls forward and back | Mobilizes the scapulae; releases tension in upper trapezius |
| Mindful Breathing | 5-10 deep breaths | Centers the mind and engages the diaphragm for core stability |
Let's break down these movements a bit more:
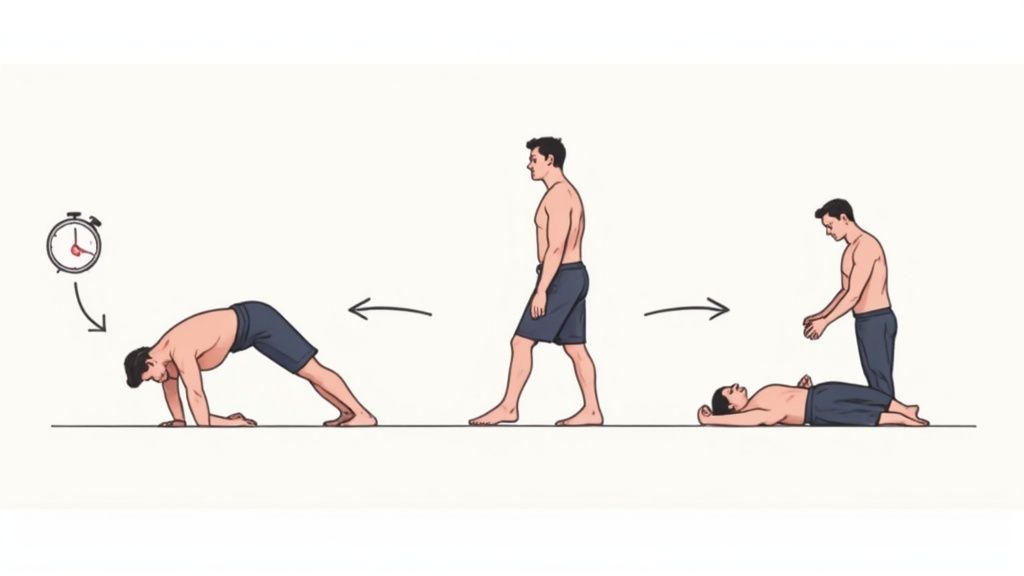
- Cat-Cow: On all fours, inhale as you move into spinal extension. Exhale as you move into spinal flexion. Feel each vertebra articulate.
- Hip Circles: Whether standing or on your back, slowly circle one femur in the hip socket. Make your circles smooth and controlled to prepare the joint for movement.
- Shoulder Rolls: Sit or stand tall and simply elevate, retract, and depress your scapulae. Then reverse it. This is great for releasing that "desk posture" tension.
- Mindful Breathing: Take a few deep, intentional breaths. Understanding the essentials of guided breathwork can completely change your practice by improving intercostal muscle engagement and overall body awareness in every single exercise.
Once you've completed this quick warm-up, your body and mind will be ready to get the most out of your Pilates ring workout.
Foundational Pilates Ring Exercises
Alright, you're warmed up and have a feel for the ring. Now for the fun part—let's get into some essential Pilates ring exercises that form the bedrock of a good practice. Each movement is specifically designed to build a deeper connection between your nervous system and your muscles. We’re focusing on precision and control here, using specific anatomical cues so you can feel the right muscles firing at the right time.
This diagram lays out the simple progression we follow in every workout: a solid warm-up, getting the ring in the right spot, and then mastering the movements with great form. Sticking to this flow is what makes every session safe and incredibly effective.
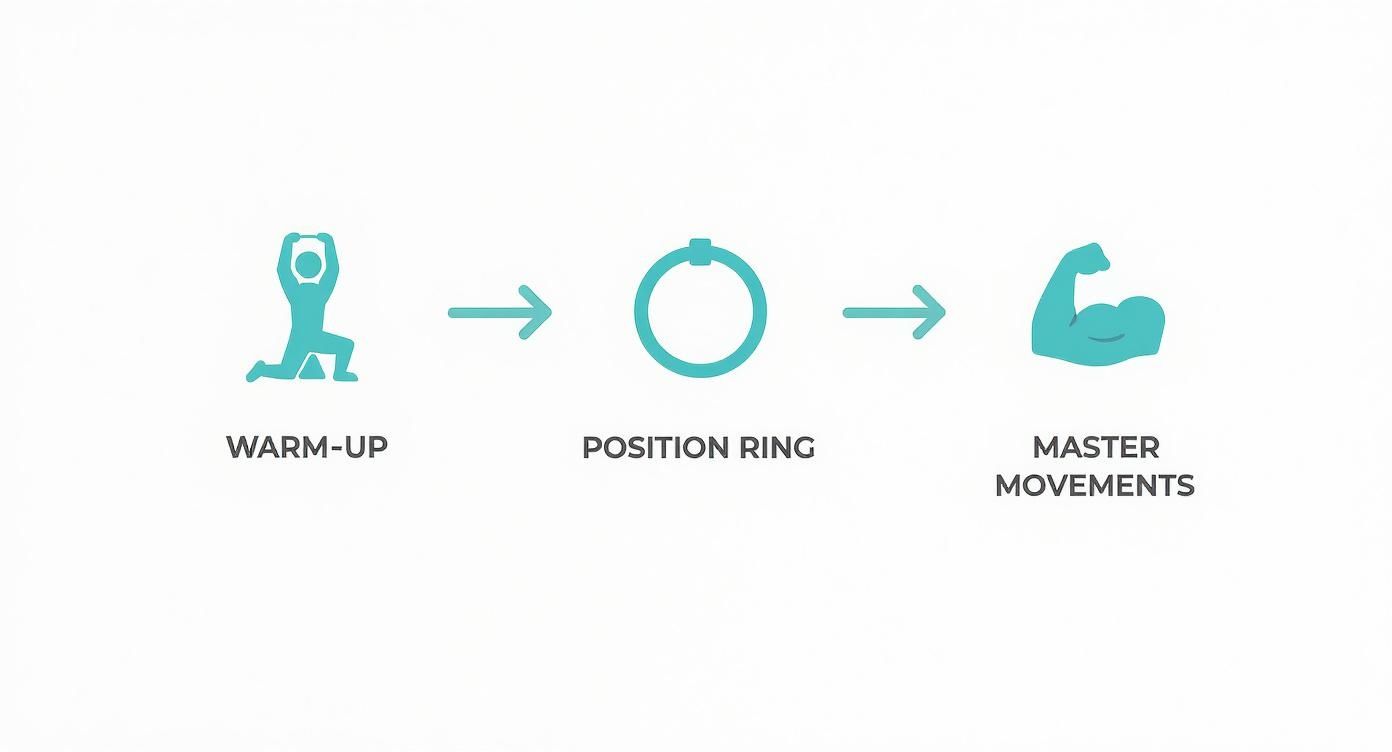
Think of it this way: the quality of your prep work directly translates to the quality of your movement and, ultimately, your results.
1. Inner Thigh Squeeze (Adduction)
This is the quintessential Pilates ring exercise, and for good reason. It gives you a direct line of communication to your inner thigh muscles (your adductors) and helps you feel that fascial connection all the way up into your deep core.
Primary Muscles Targeted: Adductor group (inner thighs), transverse abdominis, pelvic floor.
Start by lying on your back. Bend your knees and place your feet flat on the floor, about hip-distance apart. Pop the ring between your inner thighs, just above the knees, so the padded handles are making contact. Your arms can just rest by your sides.
Take an inhale to get ready. As you exhale, gently squeeze the ring. The trick is to initiate the movement from your deep core—think about contracting your transverse abdominis to keep your pelvis stable. You should feel the adductor muscles along your inner thighs firing up to bring your knees closer.
Hold that squeeze for a count of three, then inhale as you slowly release with eccentric control. Don't just let the ring spring back open.
- Common Mistake: Using momentum or squeezing way too hard and fast. This often makes the hips lift or the lumbar spine arch. The movement should feel slow and deliberate.
- Beginner Modification: If you feel any strain in your lower back, slide a small pillow or folded towel under your sacrum for a little support. You can also just ease up on the intensity of the squeeze.
2. Outer Thigh Press (Abduction)
Now, let's recruit the opposing muscle group to create balance around the hip joint. This move zeros in on the outer hips and glutes, which are absolutely critical for pelvic stability.
Primary Muscles Targeted: Gluteus medius and minimus (outer hips), tensor fasciae latae (TFL).
Lie on your side with your legs stacked and knees bent at a 90-degree angle, like you're sitting in a chair. This time, place the Pilates ring around your thighs, just above your knees. Prop your head up with your bottom arm and place your top hand on the floor in front of you to stay steady.
Keeping your feet glued together, exhale and press your top knee outward against the ring's resistance. Really focus on using your gluteus medius to power the external rotation and abduction of the hip. Your pelvis should stay perfectly still—I like to tell my clients to imagine their two hip bones are headlights pointing straight ahead.
Inhale as you bring your knee back to the start with control.
- Common Mistake: Rocking the pelvis backward to try and get a bigger range of motion. The whole point is to isolate the gluteus medius, so a smaller, controlled movement is way more effective.
- Beginner Modification: If the resistance feels like too much, just do the same movement (a clamshell) without the ring. You'll still build that crucial mind-muscle connection.
3. Chest Press
This exercise is fantastic for strengthening the chest and the front of the shoulders while making your core work to keep the ribcage stable. It's a great way to improve your upper body posture.
Primary Muscles Targeted: Pectoralis major (chest), anterior deltoids (front of shoulders), triceps.
Lie on your back with your knees bent and feet flat on the floor. Hold the ring out in front of your chest, placing both hands on the outer padded handles with your elbows slightly bent.
Inhale to prepare. On your exhale, press into the handles and squeeze the ring. You should feel your pectoral muscles contract. As you press, make sure your shoulders stay relaxed and your scapulae are gently depressed, away from your ears. Your shoulder blades should feel stable against the mat beneath you.
Hold that squeeze for a moment, then inhale as you slowly release the tension.
- Common Mistake: Tensing up the neck and shoulders. All the effort should come from your pectorals and arms. Keep your cervical spine long and your jaw soft throughout the exercise.
- Beginner Modification: You can absolutely do this standing or sitting in a chair with your spine erect. This can make it easier to focus on your upper body form without having to think about core stability at the same time.
4. Pelvic Curl With Ring Squeeze
Here, we're combining spinal articulation with that inner thigh work you’ve already mastered. This is an incredible movement for improving vertebral mobility and strengthening the entire posterior chain.
Primary Muscles Targeted: Hamstrings, gluteus maximus, spinal erectors, adductors.
Get into the same position as the Inner Thigh Squeeze: on your back, knees bent, feet flat, with the ring nestled between your thighs. Let your arms rest long by your sides.
Inhale to set up. As you exhale, give the ring a gentle squeeze and simultaneously press your lumbar spine into the mat (a posterior pelvic tilt). Keep exhaling as you peel your spine off the floor, one vertebra at a time, until you’re resting on your shoulder blades in a straight line from your shoulders to your knees.
Take an inhale at the top, keeping the light adductor squeeze on the ring. Then, exhale as you slowly articulate your spine back down to the mat with control, starting from your thoracic spine and letting your sacrum be the last thing to touch down.
- Common Mistake: Lifting the hips too high, which causes the back to hyperextend. The goal is a long, straight line, not a big arc. Focus on using your glutes and hamstrings to achieve hip extension.
- Beginner Modification: Simply reduce the height of your lift. Only peel your spine up as far as you can while maintaining good form and feeling in control.
As you work through these foundational moves to build your core, you might also be curious about how core exercises can target belly fat. These exercises are the essential building blocks of a solid practice and are a great precursor to what we cover in our guide to Pilates exercises for core strength.
Your First 20-Minute Pilates Ring Flow
Knowing the individual moves is a great start, but the magic happens when you string them together into a flowing, effective workout. This is where you really start to feel the progress. I’ve structured this sample 20-minute routine to create a balanced, full-body session that’s perfect for anyone just starting out. There’s a specific anatomical purpose to the sequence, moving intentionally from core activation to targeted limb work.
We'll kick things off by firing up your deep core stabilizers, like the transverse abdominis. Why start here? Activating these deep muscles first creates a solid, stable foundation for your entire body. It ensures your pelvis and spine are supported as you move into the bigger lower and upper body exercises. This 'core-first' approach is fundamental to Pilates and makes every single movement that follows safer and much more effective.
The Foundational 20-Minute Flow
Remember, this routine is all about control and precision, not speed. Focus on your breath and connecting with the specific muscles you're targeting in each movement. Aim for about 8-12 repetitions of each exercise unless I mention otherwise, and try to move smoothly from one exercise to the next.
Part 1: Core and Spine Activation (5 minutes)
- Warm-up: Begin with 2-3 minutes of Cat-Cow and simple Pelvic Tilts. Think of this as gently mobilizing your spine.
- Inner Thigh Squeeze: This move is key for activating your adductors and pelvic floor, creating that deep stability from the inside out.
- Pelvic Curl with Ring Squeeze: Here you'll articulate your spine off the mat while engaging your glutes, hamstrings, and inner thighs. It’s a fantastic way to warm up the entire posterior chain.
Part 2: Lower Body Stability (8 minutes)
- Side-Lying Outer Thigh Press: Perform this on each side. It’s a powerhouse for strengthening the gluteus medius, a crucial hip stabilizer that often gets neglected.
- Bridge: With or without the ring between your thighs, really focus on firing your gluteus maximus to lift the hips. This protects your lower back.
- Single-Leg Circles: Place one foot on the ring (laid flat on the floor) for added stability while circling the other leg. This really challenges your core to stay still while you mobilize the hip joint.
Part 3: Upper Body and Full Body Integration (7 minutes)
- Chest Press: An excellent way to strengthen the pectorals and the front of your shoulders.
- Roll Up (Modified): Use the ring between your thighs to maintain that adductor connection as you articulate your spine up and down. It's a game-changer for learning this classic move.
- Cool-down: Finish with 2 minutes of gentle stretches. A figure-4 stretch for the hips is a perfect way to end.
Making the Routine Your Own
This structure gives you a wonderfully balanced workout, but the best routine is always one that adapts to your body and your goals. That’s the real beauty of using the Pilates ring—it's incredibly versatile.
Your body gives you feedback with every single movement. A slight shake means you're challenging your stabilizing muscles—that’s a good thing! Feeling a deep, specific burn means you’ve found the target muscle. Use this proprioceptive feedback to guide how you customize your workout.
Here are a few ways to make it your own:
- For more strength: Instead of just adding more reps, try adding a 3-second isometric hold at the peak of each contraction. This increases the muscle's time under tension, a key driver for building strength.
- For better stability: Slow everything down. A slower, more deliberate tempo forces your smaller stabilizing muscles to kick in and work harder, which dramatically improves your neuromuscular control and balance.
- To focus on posture: Add an extra set of Chest Press and Pelvic Curls. Strengthening your pectorals and the entire posterior chain is one of the most direct ways to encourage a more upright, confident posture.
This framework is your starting point. It empowers you to listen to your body and build a practice that feels right for you, ensuring you get the most out of every single session.
How to Progress Safely and Stay Motivated
In Pilates, consistency is where the real magic happens. As you get stronger and more in tune with your body, you'll naturally feel ready to take things up a notch. Learning to recognize that moment is the key to progressing safely and making sure you don't hit a plateau.
So, how do you know you're ready? It's when the exercises start to feel less intense. A great signal from your body is when the last two reps of a set are definitely challenging, but you can still hold your form perfectly without cheating. That's your cue—your neuromuscular system has adapted and is asking for the next challenge.
Knowing When and How to Progress
One of the most important things to learn is the difference between good muscle fatigue and not-so-good pain. Muscle fatigue is that warm, deep burn in the exact muscle you're working—think of that feeling in your inner thighs during a squeeze. Pain, on the other hand, is usually sharp, sudden, or lingers in a way that just feels wrong. Always, always stop if you feel that kind of pain.
When you are ready to move forward, remember that it doesn't have to be a giant leap. Small, mindful tweaks can be incredibly effective.
- Add a Few More Reps: Try adding two more repetitions to your set. If you were doing 10, aim for 12 while keeping your form absolutely pristine.
- Introduce Pulses: At the very end of an exercise like the Inner Thigh Squeeze, add 8-10 tiny, controlled pulses to really challenge your muscular endurance.
- Try a New Variation: Instead of a basic Bridge, you could progress to a Pelvic Curl with the ring squeeze to bring in more spine movement and coordination.
The rise of at-home fitness has made tools like the Pilates ring more popular than ever. In fact, home fitness equipment sales recently jumped by 37% in North America, with many of the 60% of new practitioners who started their journey at home using simple, effective tools just like this. You can discover more about this home fitness trend and see how it's reshaping the way we move.
Remember, Pilates is a journey, not a race. The goal isn't exhaustion; it's neuromuscular connection. Learning to listen to what your body is telling you is the most important skill you can build for long-term, sustainable progress.
Staying motivated is all about celebrating these small wins and actually enjoying the process of getting stronger. Every controlled movement and every new muscle connection you feel is a step forward, building a solid foundation for a lifetime of healthy, mindful movement.
Common Pilates Ring Questions
As you dive into using the Pilates ring, it's totally normal for questions to bubble up. Getting clear answers will build your confidence and help you feel ready to get the most out of every single session. Let’s tackle some of the most common ones I hear from beginners.
How Often Should a Beginner Use a Pilates Ring?
When you're just starting out, a great rhythm to aim for is 2-3 sessions per week, ideally on non-consecutive days. This schedule gives your muscles—especially those deep stabilizers you're just starting to wake up—the time they need to recover and get stronger. A focused 15-20 minute session is all it takes to start seeing and feeling the benefits.
Remember, the key to progress is consistency, not crushing it every single day. Find a routine that fits into your life without feeling like a chore.
Can Pilates Ring Exercises Help with Weight Loss?
Pilates ring exercises are fantastic for building that lean, sculpted muscle tone that boosts your metabolism. The work absolutely helps to tone and define your body, which contributes to a leaner appearance and, just as importantly, better posture.
That said, Pilates isn't a high-calorie-burning cardio workout. For effective weight loss, it's best to combine a healthy diet with a smart mix of strength training—like these ring routines—and some form of cardiovascular exercise.
Shaking during a new exercise is often a sign that you are successfully engaging and fatiguing smaller stabilizing muscles that you may not use often. It’s proof you are challenging your body in a new, effective way.
What Should I Look For When Buying a Pilates Ring?
When you’re ready to pick out your first ring, there are a few key things to keep an eye on. You don't need the most expensive model out there, but a quality ring will support your practice for years to come.
- Moderate Resistance: It should provide a real challenge, but not be so stiff that you compromise your form just trying to squeeze it.
- Comfortable Handles: Look for soft, padded handles on both the inside and the outside. You'll be using both for different exercises.
- Durable Material: A quality ring will be made from flexible sprung steel with a soft outer coating, ensuring it provides consistent resistance over time.
Ready to feel the difference that anatomically-informed movement can make? The WundaCore Resistance Ring is designed with comfortable, non-slip grips and perfect resistance to help you connect with your deep core from day one. Explore the complete WundaCore collection and start your journey today.